Showing posts with label fabric. Show all posts

Wednesday, May 29, 2013

Floral and Plaid Bedspread and Curtains for a Teen

Now that we have built a bed for Justice's room we need bedding. Curtains wouldn't hurt either. Fabric is one of my favorite design elements. It makes a room. I sat down with Justice at the beginning of all of this and we had a conversation about the fabrics. As I mentioned here, Justice picked the floral first. Then I suggested several fabrics that would coordinate.

Fabrics we are working with
Once we knew which fabrics we were going to use, we discussed how she wanted to use them in the room. I knew she needed a bedspread and curtains. Then there were accessories that would get a fabric treatment, such as a bulletin board, ottoman cube and upholstered bed. She favored the floral. So that was assigned to the bedspread.  I started by going to the thrift store to find a comforter in good condition. I found a twin comforter for $5.00. Threw it in the washing machine twice (just to be sure). Then measured it completely. Of course the fabric isn't the same dimensions as the comforter. Since the fabric would have to be pieced I decided to mix it up a little more. Once I had my measurements, I divided the longest length by three. Then cut out two panels of the floral, two of the plaid and two of the solid, adding an inch in all directions for seam allowance.

Completed bedspread
For the front I sewed the plaid in the middle of the floral. I did the same for the back, putting the plaid in the middle of the solid. Then sewed the two sides together on one side. Ribbon was added over the seams all the way around, front to back. Two more sides were sewn up and one was sewn part of the way so that I could insert the comforter. Then closed it up using a ladder stitch. Here is an excellent tutorial on the ladder stitch. It was a revelation for me.

The reverse side of the bedspread
Then we discussed what type of curtains she wanted. Panels, valance or possibly a roller shade? Roller shade it is. I've made one before and loved it. So I was pleased with this decision, as it allows us to use two of her fabric choices and it's very attractive when hanging.

Roller shade
She picked the plaid as the main fabric for the shades. I lined it with the floral. The windows were measured. Justice has two very different length windows. I added two inches on all sides to allow for seam and to make the shade larger than the window casing. She has blinds so the shade could not be installed inside the window frame. I made a channel at the top for the curtain rod. At the same time I sewed ribbon onto the shade. There is four lengths of ribbon, placed several inches from the sides on the front and the back of the shade. When we hang the shade the ribbon will hold the rolled up shade. A channel was also made at the bottom to insert a dowel rod. This aids in rolling the shade. I picked up two inexpensive curtain rods for $5.00 each at a supercenter.

 The stripe fabric is to be used on accent pieces throughout the room. I'll show everything in use and detail in the completed room.

Money spent:

$5.00 comforter
$1.00 ribbon
$10.00 curtain rods

Monday, May 27, 2013

Upholstered Platform Bed For A Teen

Pop Pop did not like Justice's bed. At all. He has wanted to create a platform bed for her. Since we were doing her room he decided to add it to the "to do" list. Not to be outdone, I added an upholstered backboard to it. I also upholstered around the edge of the bed. So that when it's revealed it's  pretty.

Ends and cross bars
The mattress was measured. Then 2x12's were cut in half length wise. They were then cut  to size for the sides of the frame.  Once that was created we cut cross bars from 2x4's. We nailed those into place and covered that with OSB Sheathing. That's the pressed wood panels that look like chips all pressed together.

The bottom of the bed shows the construction
Five legs were cut from 2x4's and the edges were routed to make them more attractive. They quickly went from lumber to legs. Wow! The bed was made high enough off the floor to add storage underneath. Which I'll talk about in another post. On painting day we painted the legs to match the dresser and bookcase.

routed edges to finish off the legs


Olympic paint in Aqua Bay
Pop Pop had some left over foam insulation. It's just plastic foam. It had been cut for what he needed. Leaving a long narrow stip. Well, it was our lucky day. It fit the edge of the bed perfectly. We stapled that along three sides of the bed.

Foam insulation made great padding
To make the backboard we cut a piece of OSB Sheathing to the height we wanted for the bed. Then we cut it to fit the length of the bed. Two 2x4's were cut down and nailed to the back of the backboard. The backboard it's self will sit on the ledge of the bed. The boards on back will firmly hold it in place. We will screw it into place when we put the bed in Justice's room.

Upholstered and ready to go
Then we cut fabric to size and stapled it into place. As I said before the blue insulation foam was used for the bed. I bought a large roll of foam padding for the backboard. It was still a little too small so I had to patch it a little with the foam we already had laying around the workshop. Elmer's Craft Bond multi-purpose spray adhesive is excellent for holding foam to wood. I've tried several and so far this is my favorite brand. It's sticky but you can easily reposition. Then good luck washing it off your hands.

Upholstered bed
Once the fabric was in place, I sprayed it down really well with Scotchgard  fabric & upholstery protector. This will insure that the fabric does not need to be replaced in the near future. The final step was to put some clear contact paper over the OSB Sheathing to keep it from snagging the mattress. I already had that on hand.

We will be doing similar platform beds for the boys. Which we will start on as soon as Justice's room is complete.

Money spent:
$100 for lumber. Which is to be divided three ways. So $33 per bed. Wow!
Foam padding $16.00
Paint was paid for in a previous project
Everything else we had on hand

Monday, May 13, 2013

Throw Pillows and A Monkey...What!

What self respecting fourteen year olds bedroom would be complete without a hand full of throw pillows? Taking all of the fabric choices into account I sat down and designed and created several cute throw pillows for Justice's bedroom. I can sew. However, I am not a seamstress. So in many cases things are not as elaborate as I'd like them to be. Simply because I lack the know how. But I think they turned out well.

Have you ever priced throw pillow inserts? If your buying just one it's not too bad. However, I needed several. So I picked some up at the thrift store. I specifically looked for the kind with a zippered cover. This made cleaning them easier. I took the covers off and threw the pillow inserts into the washing machine and dryer. I paid $15.00 for a bag full. Some I didn't use. So they will get used in the boys room.

The fabrics we are working with
Justice has a little obsession with monkeys. So I thought I'd find a way to put a few monkeys into the design of her bedroom. I made this cute little guy to keep her company. I cut out the dark brown felt part in one piece. Then sewed the tan felt pieces on. Nana thought Justice would prefer googly eyes to felt eyes. So that is how I finished him up. Having been an art teacher Nana had tons of those on hand. The ribbon on this pillow I purchased at The Dollar Tree.

Isn't he cute!
This patchwork pillow combines all the fabrics I'm using in this room design. The back has the same turquoise color as the monkey pillow.

 Patchwork


I was so afraid of this round pillow. I just knew it was going to be impossible. I was shocked that it came out so well the first time.


Round floral

Accent stripes

Money spent:

6 pillows for $15.00
Ribbon $1.00

Total: $16.00

Saturday, May 11, 2013

Upholstered Ottoman With Storage

In the last post I showed off our excellent thrift store buy. The little desk will fit nicely into Justice's room. Now we need something to sit on. Can't have a desk without a seat. So I asked my father, Justice's Pop Pop. If we had enough material on hand to build a ottoman cube with storage. Always up for a project he looked around and found what we needed. That word is coming up again: FREE!

Unstained ottoman
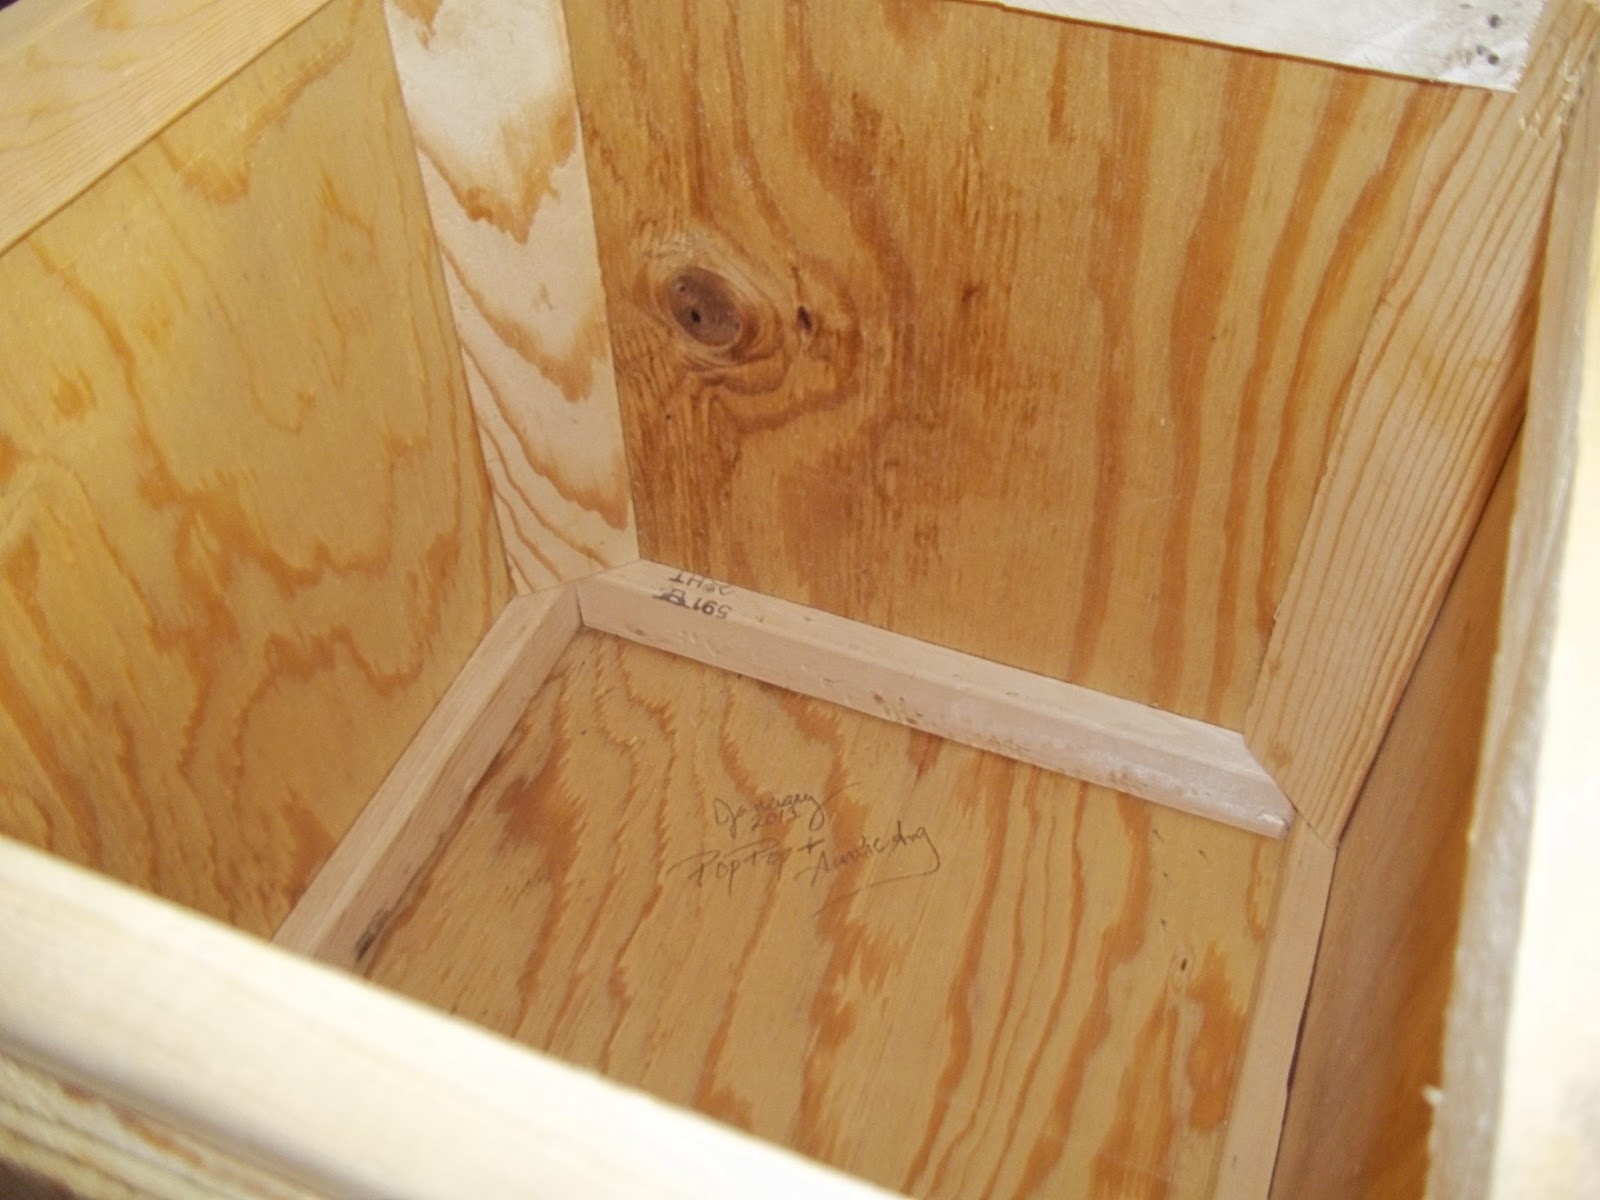
 We measured the space under the desk to determine how wide and tall it should be. Then we created the ottoman out of the thicker plywood. Making sure it was very well put together and durable. You just know she will be whizzing around her room on it.

Ready to be upholstered
We stained the inside and bottom with Minwax stain and sealer in Early American to give it a finished look. My father and I build and sell upholstered ottomans. So the foam, batting and upholstery tacks were already on hand. Using the accent fabric we had already chosen, we upholstered the ottoman easily. Wheels we had in the workshop make it easily mobile. We then trimmed it out with fringe to glam it up. As you can see we did try to line up the stripes. Oh well...
Cute mobile seating
Extra storage to help keep Justice's room in order

Money spent: 0


Thursday, May 9, 2013

Wall Art On A Budget

While digging through all the fabrics to find the perfect one for Justice's room I saw one I loved. We already had four fabrics picked. This one is not 100% right to mix with the others but I loved it. I showed it to Justice and she loved it too. So I decided I'd cut a piece out and turn it into wall art. This way she could use the fabric and not have to fully commit to it. It still coordinates just fine.

Gorgeous fabric!

It seems every time I say I'm going to do a simple project it turns into something big. This quick little project was no different. In fact it was the most time consuming project of all. I started with a 18x24 canvas. My mother, Marsha is a former art teacher. She is also a artist. She had a stack of canvases on hand. So that word FREE came into play again. I love that word. I cut the fabric to fit the canvas. Leaving enough to turn over the back. Also making sure that I centered the part I wanted to show. Then stapled it into place. The staples cooperated this day. Hooray!

Folded neatly and stapled firmly.

Here is where things got so complicated. It was a fine piece of art. That's it...fine. No glitz, no glam. This is a fourteen year old girls room. There has to be some bling! So I broke down and bought sequins and sparkly beads to embellish it with. Then I sat for hours and hand sewed them in place. Took a couple hours off and on each day for two weeks to finish it. It turned out really well. Not sure I'd do it again. Well, not today anyway...

The finished art!

Flower bead work.
Close up detail of the blinged out bird.
 

Money spent so far:

Bulletin Board $9.99
Beads $5.00

Total: $14.99


Wednesday, May 8, 2013

Where To Start

The first thing we did on the road to decorating Justice's room was let her pick out her fabrics. I'll admit. I got lucky. My aunt is an interior decorator and has tons of fabric. She has given me permission to use anything I want. So the fabric is free! That is most definitely in the budget...


Justice chose the floral first. Then I suggested the coordinating prints.
 
After selecting fabrics we discussed what she wants in her room. She didn't really know. She just wanted it to be pretty and a little girly but not fluffy. So I had to think back to what I liked about my room as a kid. The first thing that popped into my mind was a bulletin board. I loved having a place to pin inspirational pictures, the current heart throb or art I'd done. But a boring bulletin board will not do.

Thank goodness for duct tape!
 
 We picked up a big bulletin board for $9.99. Then cut fabric to fit and attempted to staple it to the back. I've done it before. Not entirely sure why it didn't work this time. Not to be out done by some annoying uncooperative staples, I got out the duct tape. Now she has a lovely inspiration board!


A beautiful place to pin inspirational pictures and words.


Money spent so far: $9.99


Friday, February 15, 2013

My Lucky Day

I always see these amazing refurbished furniture stories on Pinterest, blogs and in magazines. They find a great piece of furniture for a steal and turn it into something amazing. I never seem to have that kind of luck. EVER! Till I was out shopping with my niece Justice. We were at a thrift store and I saw an armoire with mirrored doors. One of the mirrors was missing. Since I was in line I sent her over to check the price. She didn't see one. I decided that even if it did have a price it would be more than I was willing to pay. That's my kind of luck. So I walked away from it. A couple days passed and I couldn't stop thinking about it. So I went back. I took my father and his truck, just in case luck was with me. I didn't expect it to be there, honestly. I also didn't expect to really come home with it. My plan was to find out it cost too much and know I tried. With my father in tow I bought it for $40.00. Woohoo! Finally I found my steal. However, it was well made but a little rickety and it was a hanging armoire. I thought I'd find shelves far more useful. So my father and I had a new project.

We started with this.
As you can see it is missing one mirror and you may or may not be able to see the splotchy paint. It looks to me like someone tried to sand the paint off so the paint finish was not attractive. As I mentioned before it was a hanging wardrobe. So it has no shelves inside. Just a rusty bar. I wanted to add shelves to make it more user friendly and my father thought it would help to make the whole thing more sturdy. We are a thrifty pair - we tend to use what is on hand when ever possible. That meant plywood. Which was fine by me. It's inside after all.

Sanded down and shelves constructed
 Did you notice that in adding shelves we lose space at the bottom. I did... Thank goodness I have a quick thinking father. He suggested we build a shelf and put hinges on it. Wow! I now have a hidden chest within my armoire. Cool!

The trap door
After construction was complete we were ready for a new finish. So it was time to sand and sand and sand some more. This is also when my father mentions he has a paint sprayer he has never used before. Huh? While reading the instructions on how to use the thing I almost said it's not worth the trouble. But my father has far more patience than me. So he read and watched the DVD and we got it ready to go. WOW!!! I take it all back. It was well worth the effort. The paint finish is smooth and even. We only used one quart of paint for the entire armoire. A very pretty sage green by Olympic. It's a paint and primer in one called Cavern Moss. We kept all the original hardware except the door knobs. Those were not original to the piece anyway. I replaced those with oil rubbed bronze knobs.


I knew when I saw the missing mirror that I wanted to remove the remaining mirror and put fabric in the cut outs. I have a ton of fabric on hand so it would be easy to do. When we removed the mirror we found a date on the back. It fits perfectly into the door so it must be original to the piece. It was dated July 10, 1944. I love having that little trivia. I saved the mirror. I may find a project for it later I'm sure. We made wood inserts that fit into the grooved out opening. I used fabric spray adhesive to adhere the batting then I sprayed over that to adhere the fabric. Oh and I did spray the fabric down with Stainguard before I did all this (be sure to test it first.) We used the little plastic mirror holders to hold the insert into the door. It all went together perfectly. When I first started out, I had planned to distress this piece. I loved the end product so much after painting it I decided to leave it. If I tire of this finish I can always start over...

Beautiful
I am very happy with the finished piece.